It has been over a year in the making. May 2013, when I first moved in with my mum in England I found that I had an inordinate amount of t-shirts and zero desire to wear any of them. I still had the love for them, the memories, yet absolutely no where to put them. So it started with an Instagram, claiming it was a new project.
 |
| New project... can you guess what it is yet?! - May 6th 2013 |
 |
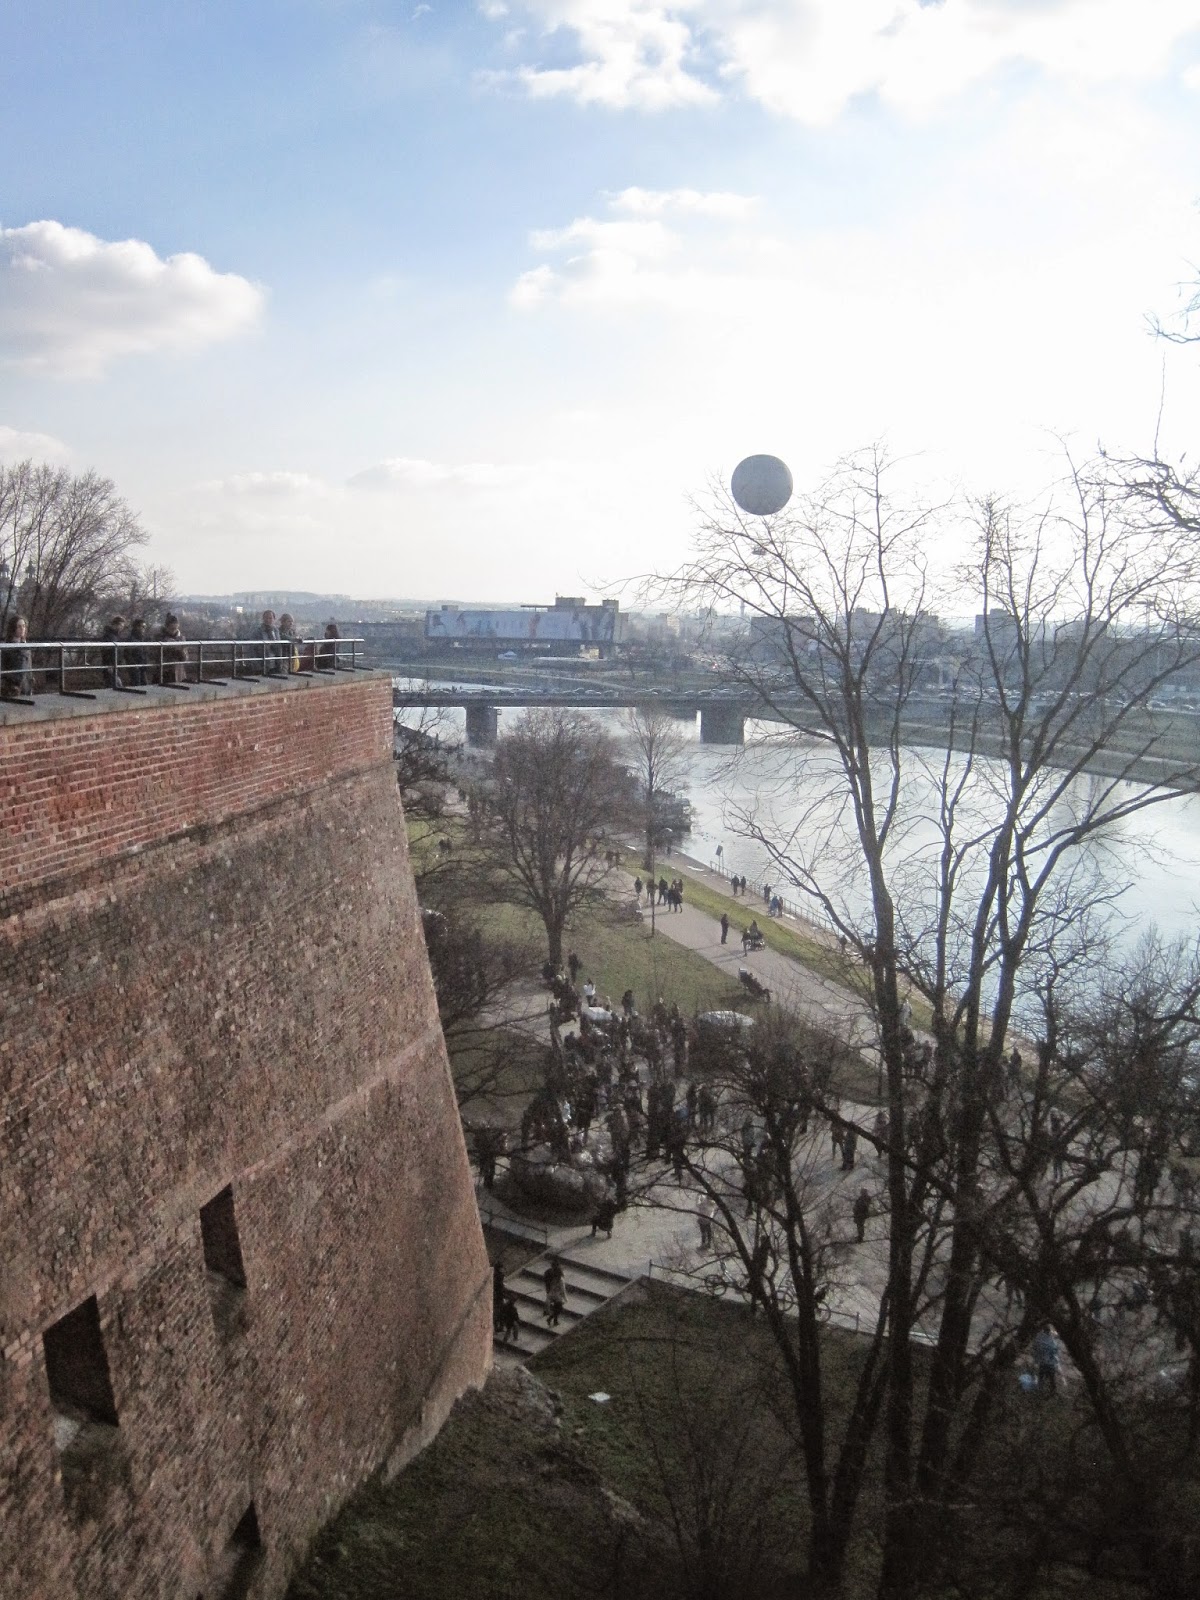
| Bloody love Poland. |
ANYWAY. I came home in March, got a job, had an unproductive summer, then realised I had two weeks of holidays to take before the holiday year reset and hastily booked them off. With no money. So I nicked my mum's sewing machine and began. It started with Netflix and an iron. Two months, several punctured thumbs and four cheapo Primark fleeces later and it was done. And I am so proud.
So here it is, my quilt journey:
Step one: wash.
 |
| Not having a tumble dryer problems |
This was painful. I don't iron. I straighten my clothes after I've done my hair if necessary. I also discovered most of the t-shirts weren't yet dry and so things got a little steamy (teehee). I gave up on the ironing half way through.
 |
| I also like close ups of my thumbs. Before the pins ended them. |
Step three: make templates for the patches and scream at paper.
Rolls of paper plus scissors and no patience. Well, enough said.
Step four: use screamed-at templates to cut squares out of t-shirts.
Accumulate off cuts and make pact to use them in some way. Still haven't.
A good pair of fabric shears are VITAL with this stage. Even though the edges will be hidden away in the end you don't want to accidentally hack away at the logo.
Step five: Cut out backing.
 |
| Cut your tshirt, not your thumb. |
Ok, so what I made isn't a quilt but more a patchwork blanket. I used fleece blankets from Primark at £2.50 a pop and cut squares to fit each t-shirt patch. I began by colour coordinating it all, then realised that was pointless as you're never going to look at the front and the back at the same time. I simply pinned the t-shirt to the fleece and snip snipped, I also kept the pins in after to keep it in place ready for sewing. You're going to need lots of pins for this.
 |
| The black goes nicely against the red, dunnit? |
Step six: Make patches
So now I simply sewed the t-shirt onto the fleece (t-shirt motif facing down) and left a wee gap to turn it round the right way again after. I machine sewed the patches together, mainly because I would still be doing it now if I'd decided to hand sew it. That's a lie actually, I'd have given up on it.
This was probably the most time consuming stage, I started counting up the hours but got to 30 and decided to stop. I had a routine of cutting a few squares out then sewing and repeat. This was how I maintained my sanity.
 |
| I was the coolest Brownie ever. |
Well this was pretty sodding difficult. When I started the project I decided not to make it perfectly laid out in a brick pattern, but rather higgeldy piggeldy, because that's what memories are. Putting this into practice was a headache and a half. The first row comprised of perfect squares, and then it just got confusing. I would sew a few together, then lie it out and pin more on... my patience levels really suck and so this was a true test of how much I wanted to make it.
 |
| Tshirt jigsaw is taking Toys R Us by storm |
Step 8: Sew again
I used blanket stitch to hand sew each patch together. At one point the blunt edge of one of the needles went through my thumb. Fun times.
This stage took six seasons of Gilmore Girls. Because Gilmore Girls is now a unit of time.
 |
| No other patches fitted together so perfectly. |
Step 9: Edge that thing.
I used bias tape to finish off the blanket. This was the first time I've ever used it and as I am not the neatest hand sewer I found it to be a life saver. The nice lady at the haberdashery taught me and steered me away from the pretty ribbons as it was quite clear that I was clueless, and then my genius Mumma re-taught me.
 |
| So close! |
Step 10: Scream, jump around and marvel.
That moment when you finish such a big project after months of work, differing stages, learning and relearning techniques, it's like nothing else. The pride was overwhelming and I am hooked. So here it is... my heirloom.
Started: 25th September 2014
Finished: 7th December 2014
Patches: 39
Estimated total cost (minus tshirts): £13.50
Patches: 39
Estimated total cost (minus tshirts): £13.50
 |
| I'm in love. |
The best bit? I got my yearly flu the week after I finished this, so had nearly a week off work which I spent watching Christmas movies curled up under this bad boy. My timing is impeccable.

No comments:
Post a Comment