Showing posts with label sewing tutorial. Show all posts

Sunday, 18 September 2016

How To Draft Your Own Circle Skirt | Free Tutorial


Evening all! 

So this year I have taught myself how to draft my own patterns in a way that makes sense to me, which is pretty amazing! So as this was requested by a fellow seamstress I thought I'd do a tutorial on how I draft and make my circle skirts. This is part 1, where I will focus on drafting the pattern pieces using your own measurements. Part 2 will come later this week and will be all about making the actual skirt! So let's jump right in...

What You Will Need:
Pattern drafting paper (or A3 paper and a good glue stick)
A ruler (I had to edit this post as I actually forgot to include this!)
A set square or a protractor
A calculator (unless you're excellent at dividing by decimals in your head)
A large table or area of hard floor
Patience and flexibility
About 1 hour


Optional extras include a cat who doesn't like your attention being on anything but him.

STEP 1. Measure
You need to take your waist measurement and the desired length of the skirt. I take the waist measurement snugly so I can just fit 2 fingers between the tape measure and the waist. This way it will hug the body when worn and accentuate your waist. To take the length of the skirt, measure from the point of your waist down to where you want it to stop. For the one I was making it was 67cm, which stops at my friend's knee. But obviously, everyone is different!


STEP 2. Draft

1. So I don't use pattern paper or anything for circle skirts, since the pieces are so large it would cost a fortune. Instead I always have a pad of A3 paper on hand and stick about 9 sheets together like so:
People laugh at me when I ask where my "good" glue stick has gone. Some glue sticks are just better than others. 
2. Once all the pieces are stuck together you need to draw a right angle in the corner, it doesn't matter which one!


I knew taking Standard Grade Graphic Communication would come in handy one day!
3. You now have to do some maths magic, and don't get too excited when I tell you that you get to use pi. Divide your waist measurement by pi (or 3.14 if you don't have a pi button) and then by 2. This will give you the radius of the circle which will form the waist of the skirt. I usually round it to 1 decimal place, but I don't think it would cause too much difficulty if you rounded it to the nearest whole number.

4. Draw from the point of the right angle straight lines which are the length of your radius. (This was a really difficult instruction to phrase... see photo below)

Label the right angle A, the vertical line B and the horizontal line C

Like you're drawing a triangle basically but don't join the points to make it one. 

5. You then need to take your radius and mark a series of points from your right angle between the space B to C. This will form a curve.


Join the dots (YAY!) and you have your waist for your skirt (DOUBLE YAY!).

6. Now draw a straight line from points B and C - this line should match your skirt length with about 2cm added for seam allowance. Label your new points D and E. 

You should now have a corner called A; waist labelled BC; a straight line BD and another CE.

7. Repeat the join the dots interval measurement trick that we did with the waistline to create a curved hem for the skirt. 

8. Now add a 1.5cm seam allowance to line CE. You can do it from point A to E if you want but we don't actually need to talk about A anymore. A can go.

9. Add a fold line to line BD like this one here:
10. Cut out and copy this exact pattern onto another piece of pattern paper, but with adding the 1.5cm seam allowance to BOTH lines (CE and BD) this time. 
If it helps you keep track, the first pattern piece we made (with the fold line) can be labelled front skirt and piece 1; and the second pattern piece can be labelled back skirts and pieces 2 and 3. Pieces 2 and 3 are cut by cutting 2 pieces of fabric but not on the fold, as we need that centre back seam for the zip.

STEP 3: Make the waistband:
Take your original waist measurement and add 8cm to this. This is because of stuff to do with pi which I don't fully understand but intend to work out! Draw a rectangle which is this measurement divided by 2 (in my case 87cm + 8cm = 95cm/2 = 47.5cm ) by 12cm. You can change the 12cm around if you want a wider or narrower waistband, I just think 12cm is a nice width). Add a fold line to one of the shorter sides to the rectangle so that you can cut this on the fold.


And once you've done all of that, you should be left with all the pieces you need to make your very own circle skirt which *should* fit you perfectly!


Be sure to check my blog later in the week on part 2 of this tutorial, which is when we will make the actual skirt using these pattern pieces! Til then, happy drafting!

Lots of love,

Katharine

Monday, 23 March 2015

Not So Mellow, Yellow

Happy Monday all! Hope you've all had a lovely weekend and are feeling more enthusiastic about work than I am right now!

So I recently took a trip to my FAVOURITE haberdashery in the world (The Fabbadashery, Halifax) looking for some inspiration. As my bank account has been drained this month due to a number of factors I was planning on settling on a couple of fat quarters and going with that; but then I decided that this is what savings were for and I was in the mood for buying some happiness (Fabric is happiness)...
At the start of the month I had treated myself to the new Great British Sewing Bee book, mainly for the walkaway dress pattern, but also for the tips and to basically have a sewing bible. It was £25 from Waterstones and worth every penny.


So, as the Walkaway Dress requires FIVE metres of material (!!!) I decided to park that for a richer time and chose the Sleeveless Shell top as pictured below. This required 2 metres of cotton and half a metre of lightweight interfacing (a grand total of £12 for the whole top)


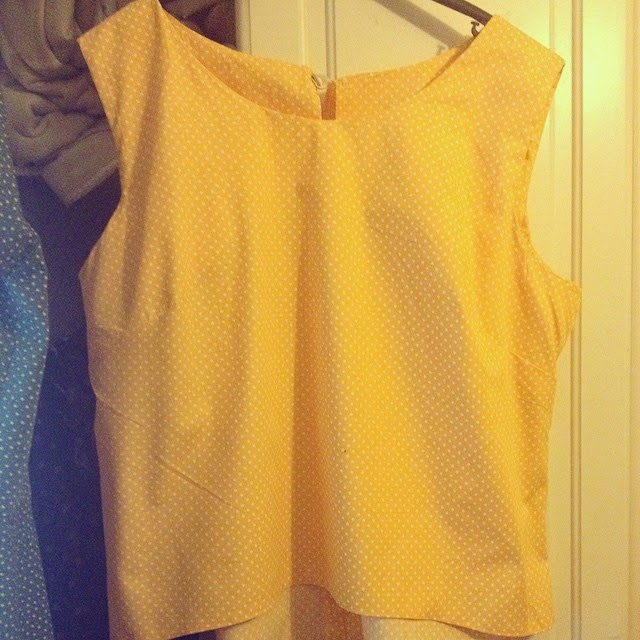
Sadly, I am not as slim as the girl in the photo. As a UK size 16/18 I tend not to go for tops like this in shops as they often don't fit my shape. (Slimmish waist, chocolate filled tummy.) But I took a leap and picked this yellow polka dot material. Yellow usually isn't my go to colour, but with spring coming and trying to get away from black and greys I took the chance and other than a few doubts during construction about it's yellowness I do really love it.


Once again, I didn't photograph the stages because I suck at this and was on a mission. Essentially though the pattern is simple to follow. It consists of front bodice, back bodice (which is in two pieces), the front facing and the back facing. There is also an option to make the back longer than the front which I went for, so it has more shape. The patterns which come with the book overlap each other so you need to trace them. Now before you go and spend a small fortune on dressmaking tracing paper to copy it, let me just say two little words... GREASEPROOF PAPER. My mum used it when she did a lot of dressmaking in the 70s, and it really is an amazing alternative. It's thick, easy to see through, doesn't tear and is £1 for 10 metres in PoundLand. I think if I ever design my own patterns I'll invest in some dressmaking paper, but for now this is a winner.

The pattern starts with sewing two darts at the bust, which took me three attempts to get them matching. You join the back bodice pieces to the front, and then join the two facing pieces together in the same way and hemming it. You then sew this to the neckline and understitch to ensure it doesn't flip up with wear (had to watch a YouTube video on how to understitch though...). The facing also goes down the sleeves. It is held together with ribbon and a button at the top of the back bodice and has a 1cm hem.

And this is the finished product! 


I'd say if you use a cotton with no stretch for it to add a few inches so it has a little give. I have an oddly long torso so it sits a little higher than it should, stopping just above the top of my jeans, so I've been wearing a vest top underneath to make it more wearable. 


This is not the most flattering photo I'll admit, but I can't model things without being silly. I also pretended to be a tram driver yesterday at Bradford Industrial Museum. I'm a natural, clearly.

I hope you enjoyed that and until next time my little sewing bees :) 

Kat xx


Monday, 29 December 2014

The New Heirloom


It has been over a year in the making. May 2013, when I first moved in with my mum in England I found that I had an inordinate amount of t-shirts and zero desire to wear any of them. I still had the love for them, the memories, yet absolutely no where to put them. So it started with an Instagram, claiming it was a new project.
New project... can you guess what it is yet?! - May 6th 2013
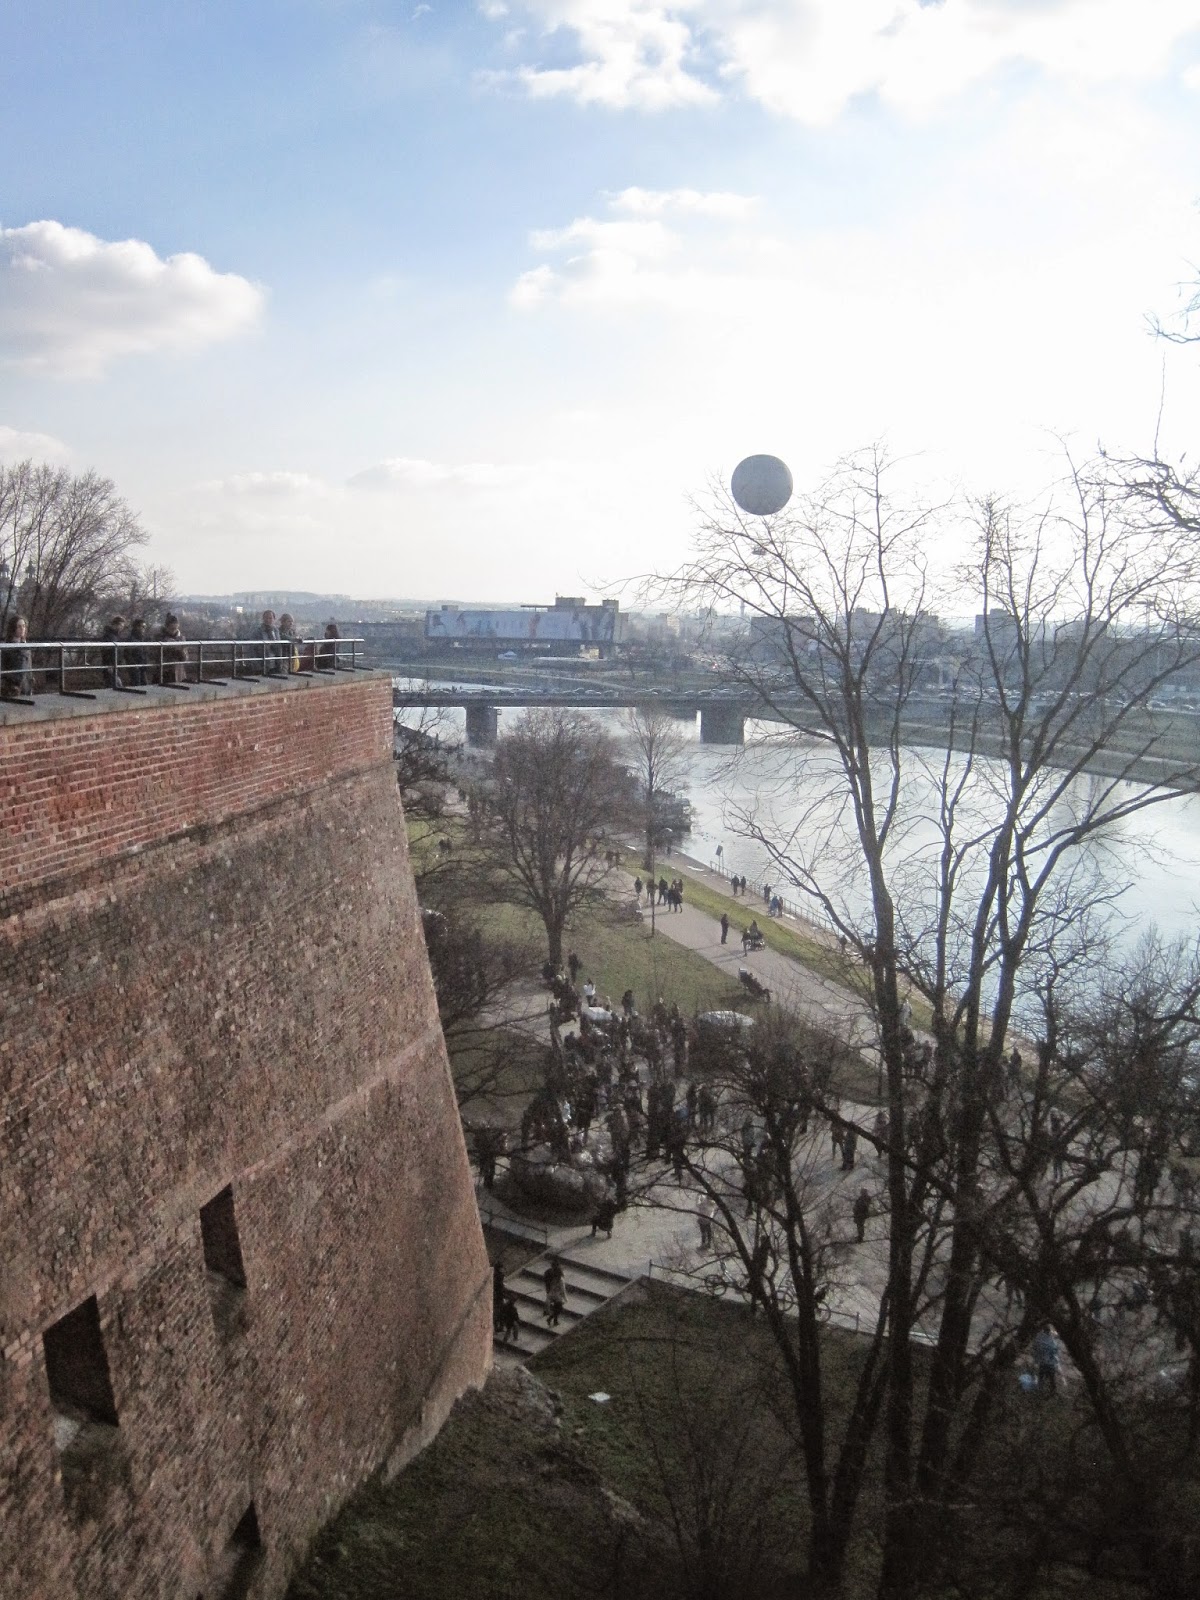
Funnily enough it didn't happen, and then I went to Poland. Here, have a photo of Poland. I love Poland.
Bloody love Poland.

ANYWAY. I came home in March, got a job, had an unproductive summer, then realised I had two weeks of holidays to take before the holiday year reset and hastily booked them off. With no money. So I nicked my mum's sewing machine and began. It started with Netflix and an iron. Two months, several punctured thumbs and four cheapo Primark fleeces later and it was done. And I am so proud.

So here it is, my quilt journey:
Step one: wash.
Both yourself and the t-shirts. Because you're human and have stored the t-shirts in suitcases for years. And they were smelly. Not bad smelly, just musty smelly.
Not having a tumble dryer problems
Step two: iron.
This was painful. I don't iron. I straighten my clothes after I've done my hair if necessary. I also discovered most of the t-shirts weren't yet dry and so things got a little steamy (teehee). I gave up on the ironing half way through.
I also like close ups of my thumbs. Before the pins ended them.
Step three: make templates for the patches and scream at paper.
Rolls of paper plus scissors and no patience. Well, enough said.

Step four: use screamed-at templates to cut squares out of t-shirts.
Accumulate off cuts and make pact to use them in some way. Still haven't.
A good pair of fabric shears are VITAL with this stage. Even though the edges will be hidden away in the end you don't want to accidentally hack away at the logo.
Cut your tshirt, not your thumb.
Step five: Cut out backing.
Ok, so what I made isn't a quilt but more a patchwork blanket. I used fleece blankets from Primark at £2.50 a pop and cut squares to fit each t-shirt patch. I began by colour coordinating it all, then realised that was pointless as you're never going to look at the front and the back at the same time. I simply pinned the t-shirt to the fleece and snip snipped, I also kept the pins in after to keep it in place ready for sewing. You're going to need lots of pins for this.

The black goes nicely against the red, dunnit?
Step six: Make patches
So now I simply sewed the t-shirt onto the fleece (t-shirt motif facing down) and left a wee gap to turn it round the right way again after. I machine sewed the patches together, mainly because I would still be doing it now if I'd decided to hand sew it. That's a lie actually, I'd have given up on it.
This was probably the most time consuming stage, I started counting up the hours but got to 30 and decided to stop. I had a routine of cutting a few squares out then sewing and repeat. This was how I maintained my sanity.

I was the coolest Brownie ever. 
Step 7: Lay patches out on double sheet and play t-shirt jigsaw
Well this was pretty sodding difficult. When I started the project I decided not to make it perfectly laid out in a brick pattern, but rather higgeldy piggeldy, because that's what memories are. Putting this into practice was a headache and a half. The first row comprised of perfect squares, and then it just got confusing. I would sew a few together, then lie it out and pin more on... my patience levels really suck and so this was a true test of how much I wanted to make it.
Tshirt jigsaw is taking Toys R Us by storm
Step 8: Sew again
I used blanket stitch to hand sew each patch together. At one point the blunt edge of one of the needles went through my thumb. Fun times.
This stage took six seasons of Gilmore Girls. Because Gilmore Girls is now a unit of time.
No other patches fitted together so perfectly.

Step 9: Edge that thing.
I used bias tape to finish off the blanket. This was the first time I've ever used it and as I am not the neatest hand sewer I found it to be a life saver. The nice lady at the haberdashery taught me and steered me away from the pretty ribbons as it was quite clear that I was clueless, and then my genius Mumma re-taught me. 


So close!
Step 10: Scream, jump around and marvel.
That moment when you finish such a big project after months of work, differing stages, learning and relearning techniques, it's like nothing else. The pride was overwhelming and I am hooked. So here it is... my heirloom.

Started: 25th September 2014
Finished: 7th December 2014
Patches: 39
Estimated total cost (minus tshirts): £13.50


I'm in love.
The best bit? I got my yearly flu the week after I finished this, so had nearly a week off work which I spent watching Christmas movies curled up under this bad boy. My timing is impeccable.