
So over the Bank Holiday weekend I decided to make myself a new purse in a last ditch attempt to save some money. I figure, if I can't carry around every coffee card, loyalty card and magic money card (credit cards...) I own I can't overspend. So as I can never find one affordable that I like in shops I decided to make my own clip purse.
Now don't get me wrong, it's still pretty big, but I can only keep 3 cards in it which is a win.
For the first time in my relatively short sewing career I made something without a pattern! What a win! It's almost worked too... amazing. It's really easy to make and it only took me a few hours too.
So to begin with I traced around the clip frame (£3 on eBay) onto some greaseproof paper (my holy grail) and sketched the kind of shape I wanted the purse to be from there. I then drew a line down the middle of this and cut out the better half of my template (I like symmetry...)
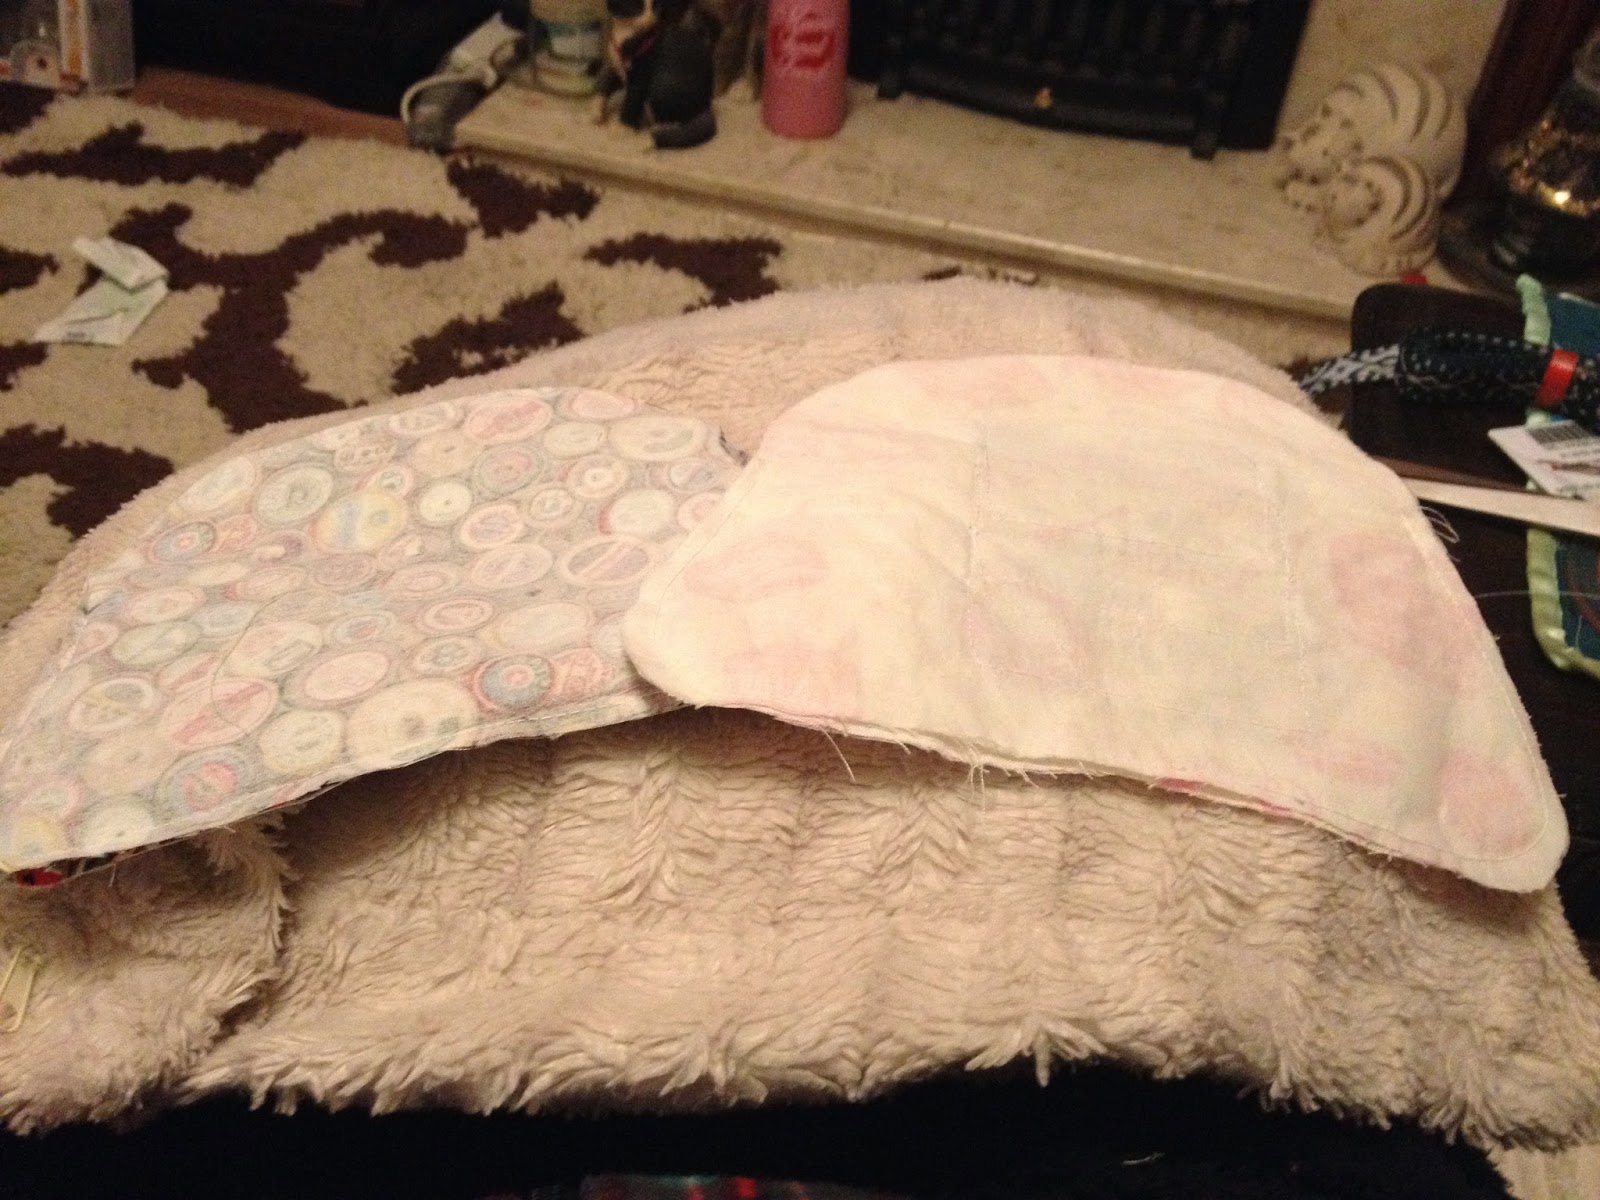
 Then I took the material I was using and folded a bit over, right sides facing up. Placing the straight line I drew down the half of the template on to the fold I pinned and snipped. I did this twice on each fabric piece I was using (two for outer and two for lining).
 I then did the same again to produce 4 matching pieces of light weight iron on interfacing. Then you simply affix the interfacing to the fabric to give it a little more structure.

 Side note: do any other sewers get a weird thrill out of pressing fabric with a hot iron? I hate ironing but I bloody love pressing my own creations.
Anyway, next I made some credit card pockets by drawing round one of my cards onto, you guessed it, greaseproof paper. I made 3 slots so cut 6 matching pieces of fabric. You need to make the cuts a fair bit bigger than the card, however, as it turns out mine are too small. But they're sewn on now and I'm not redoing that!
I sewed each pocket RST then turned them out and pressed. You'll notice from this photo that I made a 4th pocket, but we don't talk about that one...

 So then I had to make the main body of the purse. To make sure I didn't get overly excited with the sewing machine and seal the thing I marked with pencil where the bottom of the clip frame will come to...
I then sewed the outer right sides together, adding a little ribbon loop to the side as you can see to the left... (to the left to the left everything you own in a box to the left).
So with the outer done it was time to sew the inner. Which is where my credit card slot fail happened. I basically tiered the pockets as you can see in the picture, but sewed too far in which made them teeeeeeeeeny. Not to self, in future check before doing the lining. But no matter, it just means no cards for me ever! Do all your inner features before any other sewing, far easier :)
 |
| At least it looks good... |
THIS WAS WRONG. The next series of photos are to show you how NOT to insert lining...
*La la la Kat is feeling overly confident and is quite tired but in the sewing zone so will just carry on anyway la la la la la.... "look how pretty and perfect the fabric is! I'm glad I'm doing this right and won't have to unpick it!" lalala*
Right side facing wrong side.... that is always how it goes.... <_<

"I AM SO CLEVER! I GOT IT RIGHT FIRST TIME! Let's sew :D"

"....oh. Balls."

*goes to bed*
So, I had a long sleep, got up, and started again...
 So, RIGHT SIDES TOGETHER, put the lining inside the outer fabric and pin together. Sew around the top edges (where the frame will be essentially and where the edges are raw) and notch the curves as you go.
Then... using the gap in the lining that you left when sewing it the first time, pull the outer through so it looks something like that to the left (try and resist the urge to sing Beyonce...)

Press the open seam and stitch it closed. I usually press the lining and the outer at this stage too (believe it or not, this isn't the first time I've made something with a lining). Now you can push the lining back into the outer fabric and it will actually look like a purse!
At the end of the day though, it was a learning curve! Not everything in life is perfect and considering it was my first try it doesn't look too shabby... does it?

Kat x
No comments:
Post a Comment