Showing posts with label purse. Show all posts

Friday, 8 May 2015

16 Things That Will Inevitably Happen When You Get Addicted To Sewing...


Whether you're a new seamstress inspired by the Great British Sewing Bee or an established sewing veteran who has picked it up once again you will relate to some, or all of these points. If not then sit tight, it is still to come!


1. You become a regular in your local haberdashery/fabric store.
Whether it is John Lewis, HobbyCraft or a local business, you're greeted with a smile, on first name terms, known by tastes, and remembered by projects. It's the first place you go to on payday, and you can ALWAYS justify a new addition, even if it is just a fat quarter...


2. You start cancelling plans in order to sew, and don't even feel guilty about it...
"Oh no I can't tonight... I'm needed"
"Who by?"
"...Janome"


3. You find yourself talking about your clothes even more, just to gloat.
Today I asked a male uninterested colleague if he liked my dress, just so I could tell him I made it and feel the praise. You strut around just waiting for someone to comment on your new creation, just so you can say "Oh no... I MADE it" when asked where you got it from.


4. You have had to label your scissors to ensure housemates know THEY'RE NOT FOR PAPER.
The HORROR when someone tries to cut paper with your fabric scissors, as if someone has used your favourite dress as a towel.


5. Your sewing machine (if you have one) has a name, so you can chastise it when it does something bad.

Bertha loves me, and I love her. Except, however, when she carries on sewing when the thread has broken/the bobbin has run out/decides to eat my fabric/generally acts like an erratic lunatic.


6. You have less money than ever before
Handmade doesn't mean cheap. But you can always justify £30 on fabric and £5.99 on a magazine, because it's your love. And so it's ok.


7. You realise ANYTHING is possible with a sewing machine, even if it isn't Pinterest worthy.


8. Your seam ripper is your most used tool, and you hate that.
One day I'll make something right first time. Until then, hello old friend...

9. You feel less inclined to hate people.
Sewing releases endorphins, finishing a project gives you pride, looking forward to sewing at the end of a rubbish day is an amazing thing.


10. Sewing is basically a diet.
You are constantly moving between the table and the iron, you can't eat a jam donut while making a dress, and since you have to take more photos of yourself head to toe you own more stomach sucking in tights than ever before. (not necessary though, because we're all beautiful no matter what.)


11. Acquiring storage and designing a future sewing room is totally normal.
I currently have 2 wall hangings waiting, furniture decided on, and the dressmaking dummy selected. Now all I need is a room.


12. Hours are spent analysing and visualising patterns.

The fear of wasting beautiful fabric on a substandard pattern is real.


13. You walk around shops thinking "can I make that?" 
You see a dress you love, check the price tag, see the rows and rows of identical pieces, and evacuate to the fabric shop.


14. You can spend hours of joy organising your craft things.
"What if... WHAT IF... I store my seam ripper in the top tray, rather than the bottom... GENIUS!"


15. Time is precious, and time not spent crafting is time wasted.
"What do you MEAN you won't pay me to make stuff?!"


16. You realise you have the greatest hobby in the entire world, and can't imagine life without it.
You're hooked. It's like falling in love; you want to spend every day with it, you want to treat it to things, discuss it constantly, drop it into conversation, show it off, rub it in that you can MAKE things. Even if the rates of production may vary according to the needs of that silly reality thing, you are, and always will be, a sewist.


Are YOU a sewaholic? If not, WHY not? Feel free to leave other signs and suggestions below and follow me if you want to hear more about my life as a self proclaimed sewing addict! 


til next time... Kat xx

Wednesday, 8 April 2015

How To Make A Clip Frame Purse (Or How To Ruin Something With Fabric Glue)

Happy April, readers! It is officially my BIRTHDAY MONTH! I don't care what my boyfriend says, it IS a thing.
So over the Bank Holiday weekend I decided to make myself a new purse in a last ditch attempt to save some money. I figure, if I can't carry around every coffee card, loyalty card and magic money card (credit cards...) I own I can't overspend. So as I can never find one affordable that I like in shops I decided to make my own clip purse.
Now don't get me wrong, it's still pretty big, but I can only keep 3 cards in it which is a win.

For the first time in my relatively short sewing career I made something without a pattern! What a win! It's almost worked too... amazing. It's really easy to make and it only took me a few hours too.

So to begin with I traced around the clip frame (£3 on eBay) onto some greaseproof paper (my holy grail) and sketched the kind of shape I wanted the purse to be from there. I then drew a line down the middle of this and cut out the better half of my template (I like symmetry...)

Then I took the material I was using and folded a bit over, right sides facing up. Placing the straight line I drew down the half of the template on to the fold I pinned and snipped. I did this twice on each fabric piece I was using (two for outer and two for lining). 

o

I then did the same again to produce 4 matching pieces of light weight iron on interfacing. Then you simply affix the interfacing to the fabric to give it a little more structure.

Side note: do any other sewers get a weird thrill out of pressing fabric with a hot iron? I hate ironing but I bloody love pressing my own creations.


Anyway, next I made some credit card pockets by drawing round one of my cards onto, you guessed it, greaseproof paper. I made 3 slots so cut 6 matching pieces of fabric. You need to make the cuts a fair bit bigger than the card, however, as it turns out mine are too small. But they're sewn on now and I'm not redoing that!

I sewed each pocket RST then turned them out and pressed. You'll notice from this photo that I made a 4th pocket, but we don't talk about that one...


So then I had to make the main body of the purse. To make sure I didn't get overly excited with the sewing machine and seal the thing I marked with pencil where the bottom of the clip frame will come to...
I then sewed the outer right sides together, adding a little ribbon loop to the side as you can see to the left... (to the left to the left everything you own in a box to the left).


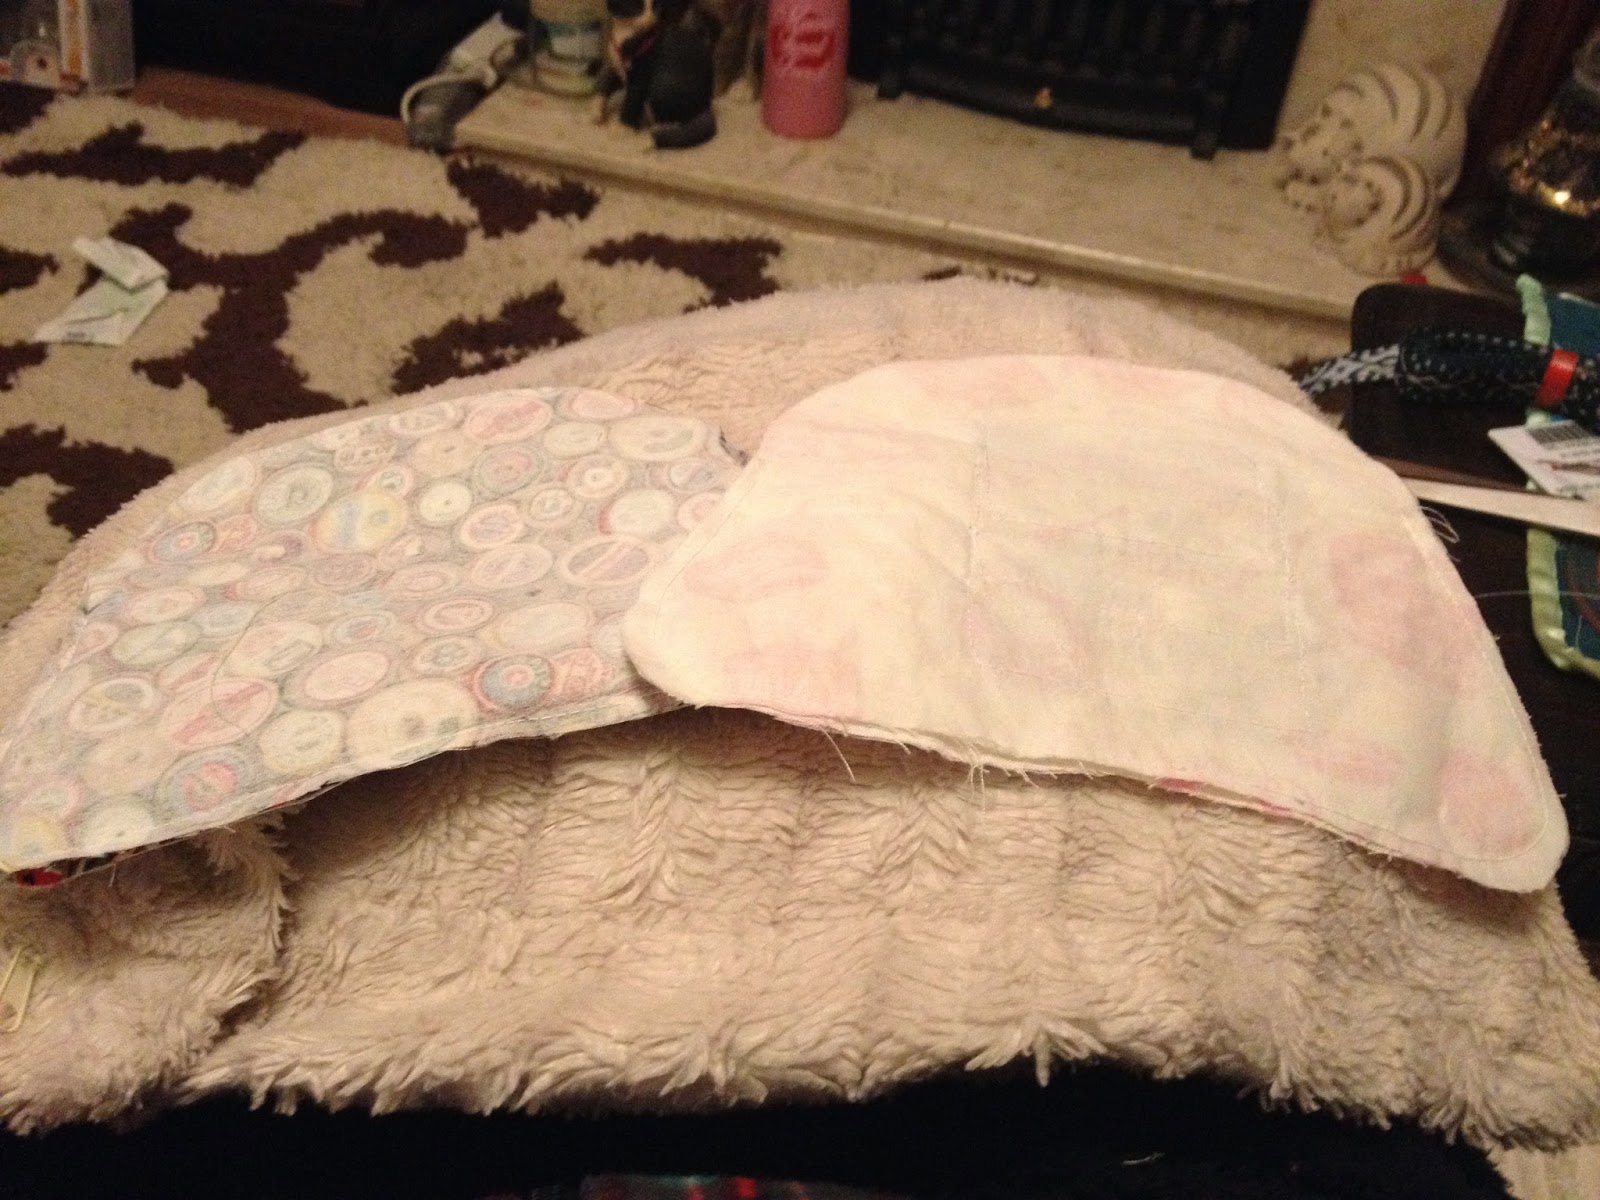
So with the outer done it was time to sew the inner. Which is where my credit card slot fail happened. I basically tiered the pockets as you can see in the picture, but sewed too far in which made them teeeeeeeeeny. Not to self, in future check before doing the lining. But no matter, it just means no cards for me ever! Do all your inner features before any other sewing, far easier :)
At least it looks good...
So next I stitched RST with the lining again, but leaving a 3ish inch gap at the bottom in the middle, and turned it round and pressed again.
THIS WAS WRONG. The next series of photos are to show you how NOT to insert lining...


*La la la Kat is feeling overly confident and is quite tired but in the sewing zone so will just carry on anyway la la la la la.... "look how pretty and perfect the fabric is! I'm glad I'm doing this right and won't have to unpick it!" lalala*


Right side facing wrong side.... that is always how it goes.... <_< 


"I AM SO CLEVER! I GOT IT RIGHT FIRST TIME! Let's sew :D"


 "....oh. Balls."


*goes to bed*

So, I had a long sleep, got up, and started again...

So, RIGHT SIDES TOGETHER, put the lining inside the outer fabric and pin together. Sew around the top edges (where the frame will be essentially and where the edges are raw) and notch the curves as you go.

 
Then... using the gap in the lining that you left when sewing it the first time, pull the outer through so it looks something like that to the left (try and resist the urge to sing Beyonce...)


Press the open seam and stitch it closed. I usually press the lining and the outer at this stage too (believe it or not, this isn't the first time I've made something with a lining). Now you can push the lining back into the outer fabric and it will actually look like a purse!
 So next came fabric glue. I was so tempted to use superglue but after reading a lot online I was put off this idea and went into town to get some fabric glue. Annoyingly though, the nozzle was quite wide and as I applied it quite liberally to the channel of the clip frame when I pushed the purse in it OOZED. I wiped it off the fabric with a wet cloth but there are still some yellowy stains. It can't be helped and I have learnt my lesson for next time! Sadly though, it doesn't look as perfect as it should due to this error in judgement. Next time I'll invest in a teeny tiny brush for this. Some instructions have also suggested using cord in the channel to help the bond so I'll try this too. 
At the end of the day though, it was a learning curve! Not everything in life is perfect and considering it was my first try it doesn't look too shabby... does it?


 Til next time loves,

Kat x